How to Adjust Garage Door Cable Tension (Without Losing Your Sanity)
Hey there, fellow DIYers! Ever had that moment when your garage door starts sounding like a grumpy troll every time you open it? Or worse—you notice one side sagging like it just gave up on life? Chances are, your garage door cables are either too loose, too tight, or staging a full-blown rebellion. Before you panic and start Googling “garage door repair company near me,” let’s talk about how to adjust garage door cable tension safely. And hey, if things get too spicy, our team at Brigs Garage Doors in Hamilton is just a call away. Let’s roll up those sleeves!
Why Cable Tension Matters More Than You Think
Garage door cables are the unsung heroes of your setup. They work with springs, tracks, and rollers to lift hundreds of pounds smoothly. If the tension’s off, you’ll face a symphony of problems:
- Noisy garage door (because who doesn’t love waking up the neighborhood?)
- Uneven movement or that awkward “I’m stuck” pose halfway open
- Premature wear on other parts like rollers or the garage door track alignment
Fun fact: Most folks don’t realize that broken springs or loose cables are often behind these issues. Adjusting tension isn’t just a quick fix—it’s a safety must. Speaking of safety…
Tools You’ll Need (No, You Can’t Just Wing It)
Let’s be real: You could try adjusting cables with a pair of pliers and a prayer, but IMO, that’s a one-way ticket to Disasterville. Here’s what you actually need:
- Locking pliers (to secure the door in place—safety first!)
- Winding bars (for torsion springs—don’t skip these!)
- Socket wrench set
- Stepladder (because gravity is not your friend here)
- A buddy (optional but highly recommended for moral support)
And no, a butter knife from your kitchen drawer doesn’t count as a tool here, folks.
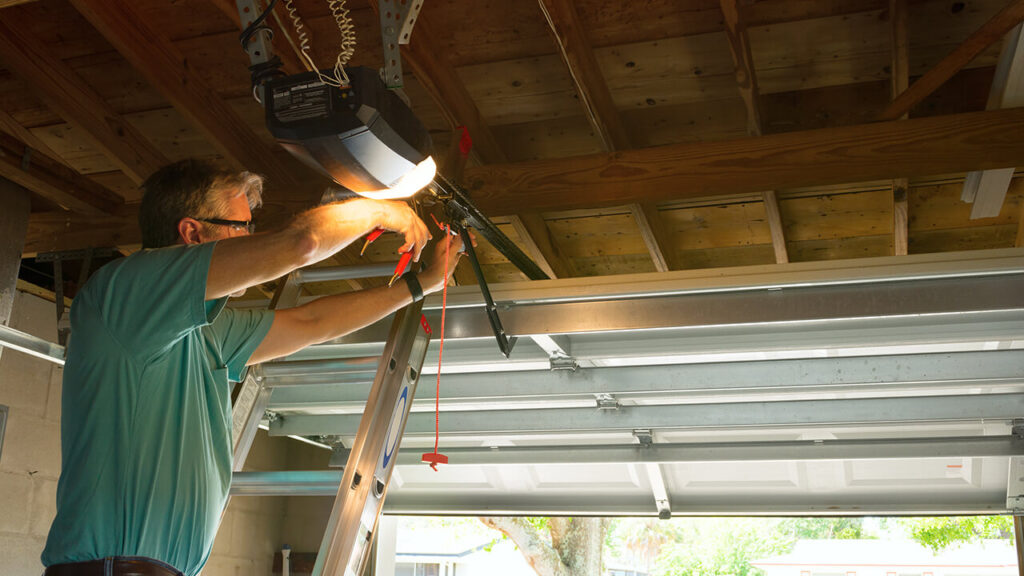
Step-by-Step: Adjusting Those Pesky Cables
Step 1: Disable the Opener
First, unplug your automatic garage door opener. We don’t need it deciding to “help” mid-adjustment.
Step 2: Lock the Door in Place
Use locking pliers to clamp the door track below the bottom roller. This keeps the door from crashing down if things go sideways.
Step 3: Release Tension from the Springs
- For torsion springs (mounted above the door), use winding bars to slowly unwind them.
- For extension springs (along the tracks), carefully unhook them.
Pro Tip: If you’re sweating bullets here, maybe it’s time to call Brigs Garage Doors. We handle garage door torsion spring replacement daily—it’s kind of our thing.
Step 4: Adjust the Cable Tension
- Loosen the cable drum with a socket wrench.
- Gently tighten or loosen the cable, depending on whether it’s sagging or too taut.
- Re-tighten the drum and test the door’s balance.
Step 5: Re-engage the Springs
Reverse Step 3, winding torsion springs carefully or reattaching extension springs.
When to Call the Pros (Like Us at Brigs Garage Doors)
Look, we get it—DIY projects are satisfying. But adjusting cables isn’t exactly like assembling IKEA furniture. Here’s when to tap out:
- Broken spring? Nope. These store insane energy and can cause serious injury.
- Cables snapped? Same deal.
- Door still uneven after adjustments? You might need garage door track repair or realignment.
We’ve seen our fair share of DIY disasters in Hamilton, Burlington, and Brantford. Trust us: garage door spring adjustment isn’t worth a trip to the ER.
Keeping Your Garage Door Happy Long-Term
Once your cables are sorted, a little TLC goes a long way:
- Lubricate tracks and rollers 2x a year (grease is cheap; replacements aren’t).
- Test the door’s balance monthly. If it doesn’t stay halfway open, call a garage door contractor.
- Listen for new noises. A noisy garage door is basically screaming for help.
FYI, Brigs offers affordable maintenance plans. Because adulting is hard enough already.
Common Garage Door Cable Issues (And What to Do)
| Issue | Quick Fix | Call a Pro? |
|---|---|---|
| Loose cables | Adjust tension using steps above | Only if springs are involved |
| Snapped cables | Secure the door and call Brigs ASAP | Absolutely—don’t touch it! |
| Uneven movement | Check garage door track alignment | If realignment fails, yes |
| Grinding noises | Lubricate tracks; inspect cables | If noise persists, yep |
FAQs: Your Burning Questions, Answered
Q: How much does professional cable adjustment cost?
A: Prices vary, but in Hamilton, expect $100–$300 depending on complexity. Way cheaper than a hospital bill!
Q: Can I adjust cables if the spring is broken?
A: NOPE. Springs are under massive tension. Let Brigs handle garage door spring replacement.
Q: How often should I check tension?
A: Every 6 months. Mark your calendar or set a reminder titled “Don’t Die Today.”
Q: What if the door still won’t budge?
A: Could be track issues, opener problems, or worse. Time for a garage door replacement consult.
Wrapping Up: Stay Safe, Stay Smart
Adjusting garage door cables isn’t rocket science, but it’s not exactly finger painting either. If you’re ever unsure, Brigs Garage Doors in Hamilton is here to help—whether it’s automatic garage door installation, garage door opener repair, or just peace of mind.
Your garage door might not thank you, but your neighbors will when it stops sounding like a rock concert every time you open it. 😉 Stay savvy, friends!